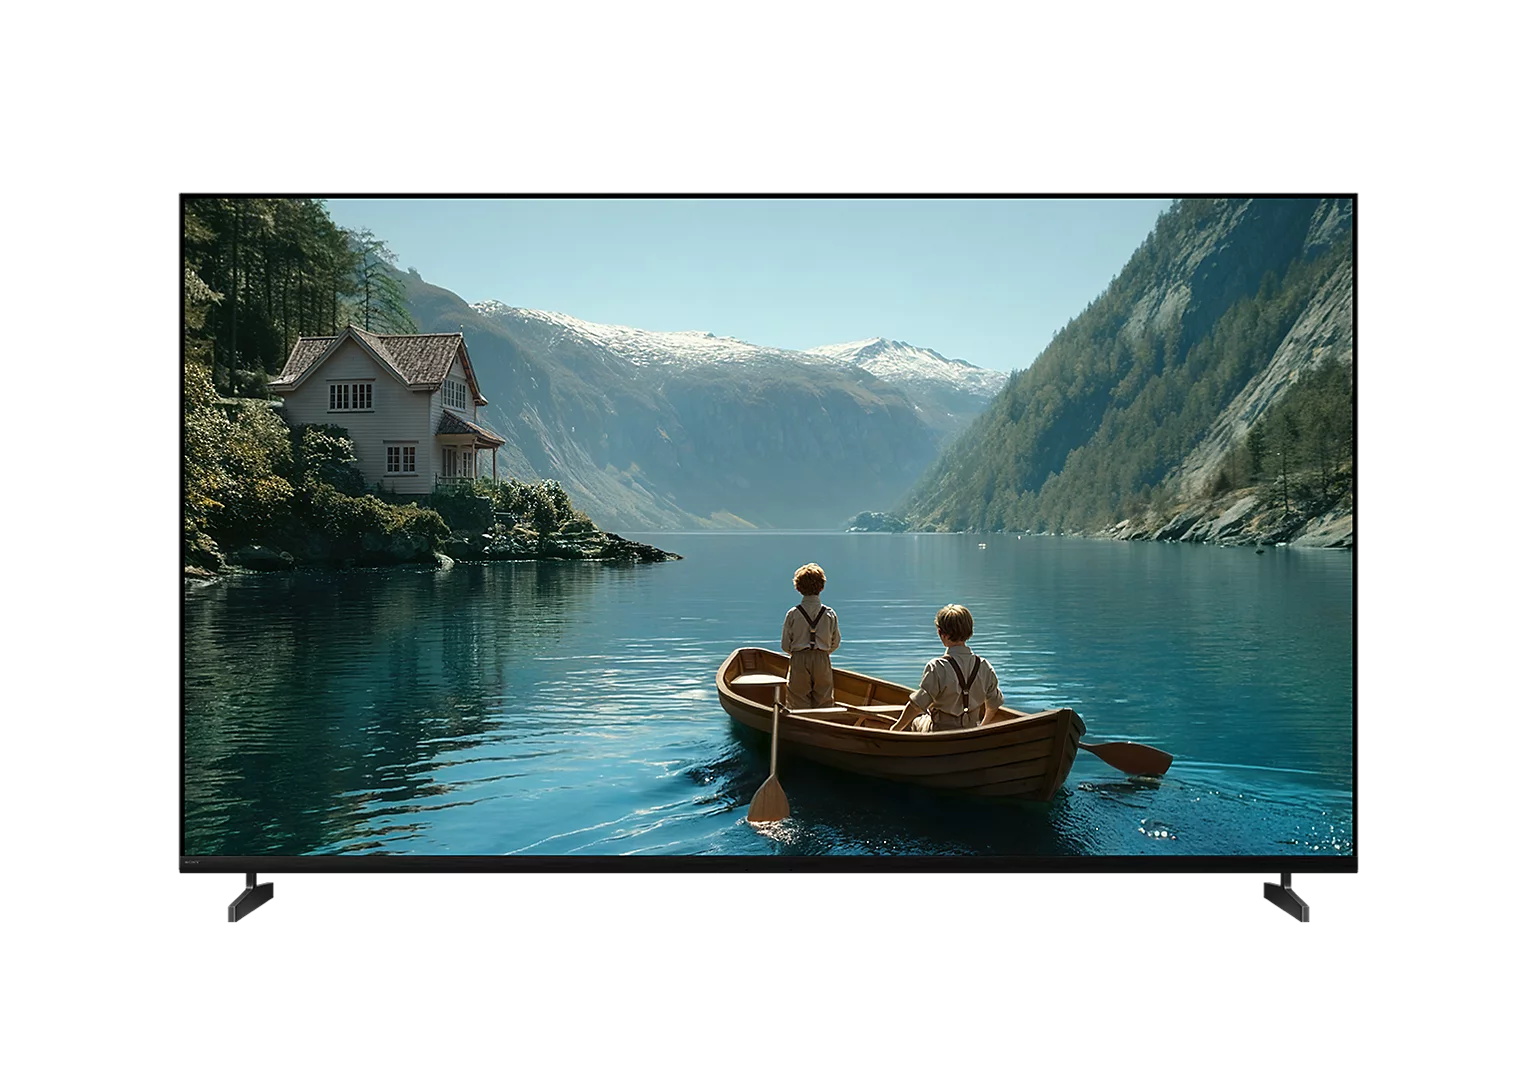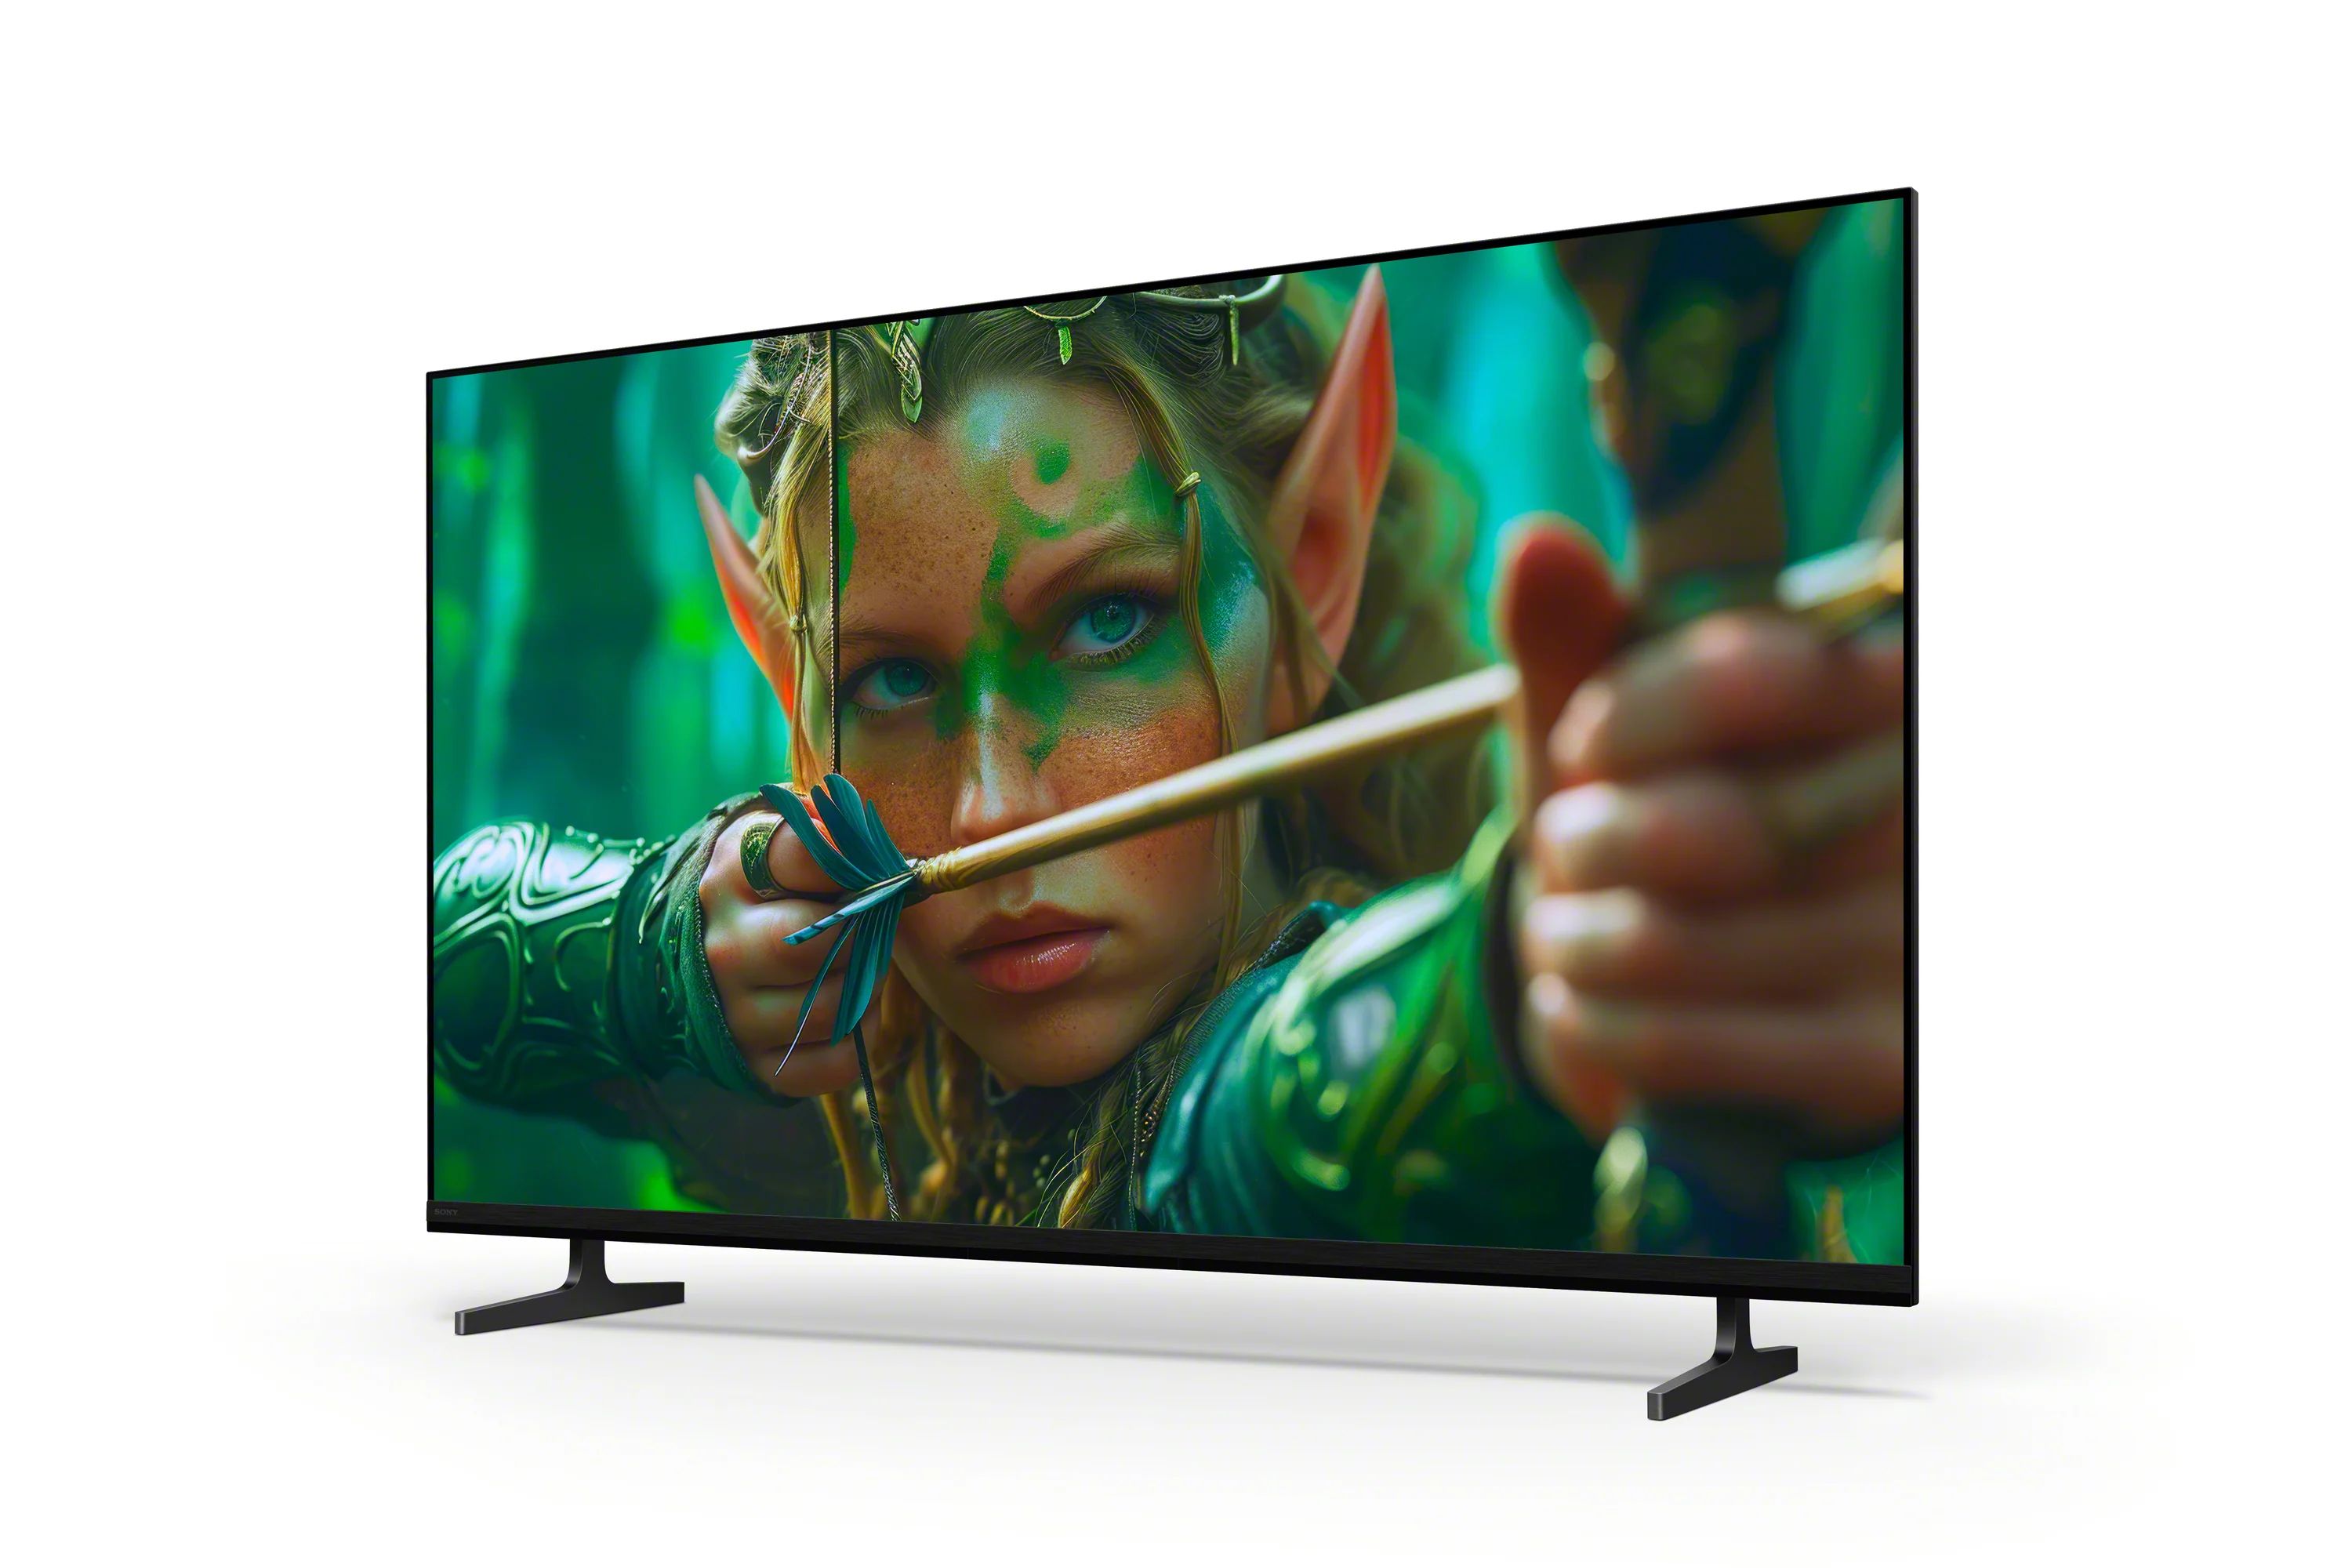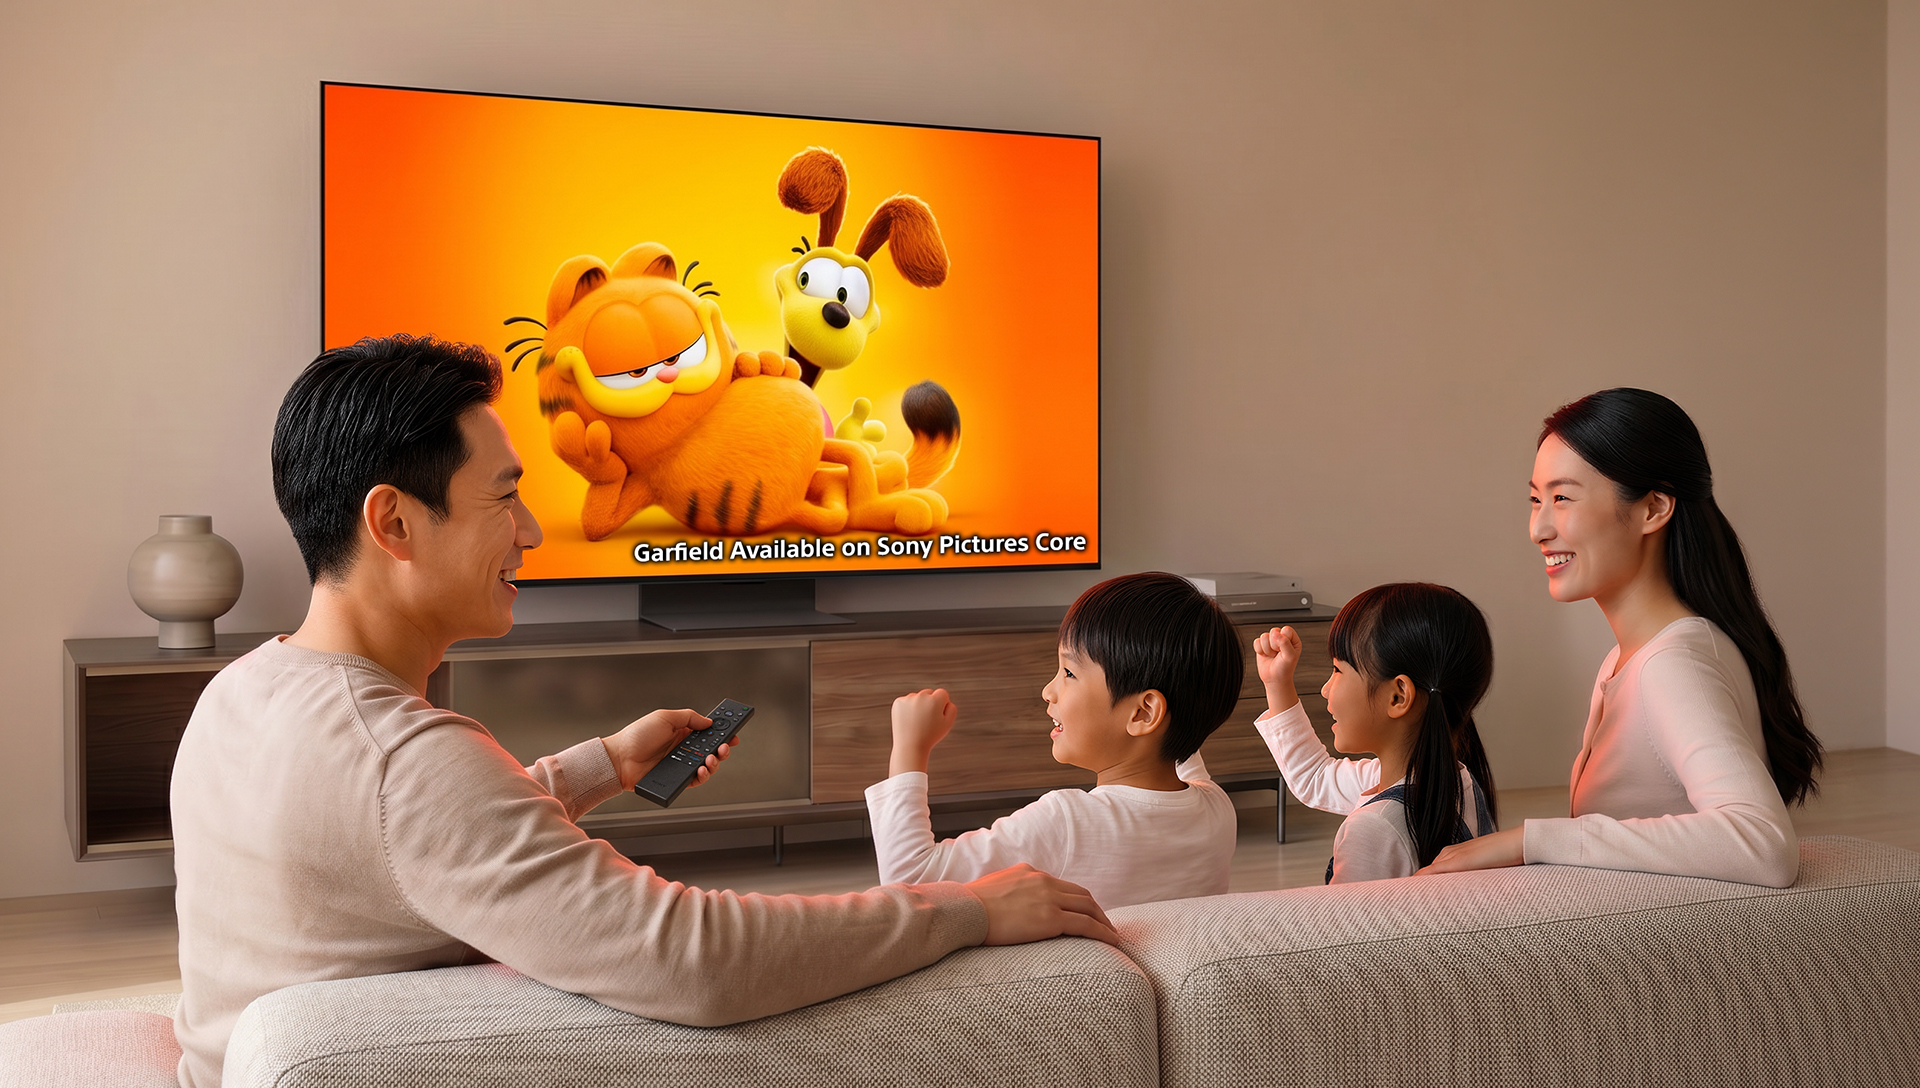



Setting up your Sony BRAVIA TV for the first time is quick and straightforward. A proper setup ensures you get the best picture, sound, and smart features right from the start, especially on a Mini LED TV or 4K Smart TV.
Follow this step-by-step guide to set up your Sony BRAVIA TV and start enjoying your favorite content.
Before You Start
Before turning on your TV, make sure you have:
- Your Sony Smart TV and remote control
- A stable Wi-Fi connection
- Your Google account ready for sign-in
- Batteries for your remote
Position your TV at eye level and avoid direct reflections to get the most out of your Sony BRAVIA TV performance.

Step 1: Power On Your TV
Plug in your Sony BRAVIA TV and press the power button on your remote.
Once powered on, the TV will automatically display the initial setup screen to guide you through each step.
Step 2: Select Your Language and Region
Use your remote to:
- Select your preferred language
- Choose your region
This ensures your TV shows the correct apps, services, and content available in your location.
Step 3: Choose Google TV or Basic TV
When prompted, select your preferred setup option:
- Choose Google TV to access smart features, apps, and personalized content
- Choose Basic TV if you prefer a simpler setup without smart functions
Most users will choose Google TV to enjoy a full smart TV experience.
Step 4: Pair Your Remote Control
In most cases, your remote will pair automatically.
If prompted, follow the on-screen instructions and press the required button to complete pairing. This also enables voice control features, allowing you to search and control your TV using voice commands.
Step 5: Connect to the Internet
Select your Wi-Fi network and enter the password.
An internet connection allows your Sony Smart TV to:
- Access streaming apps
- Download updates
- Enable voice control and smart features
For the best experience, ensure your Wi-Fi signal is stable. If your router is far from the TV, consider using a LAN cable for a more reliable connection, especially when streaming high-quality content on your 4K Smart TV.
Step 6: Sign In to Your Google Account
Sign in using your Google account to complete your Google TV setup.
This allows you to:
- Download apps from Google Play
- Sync your preferences across devices
- Get personalized recommendations
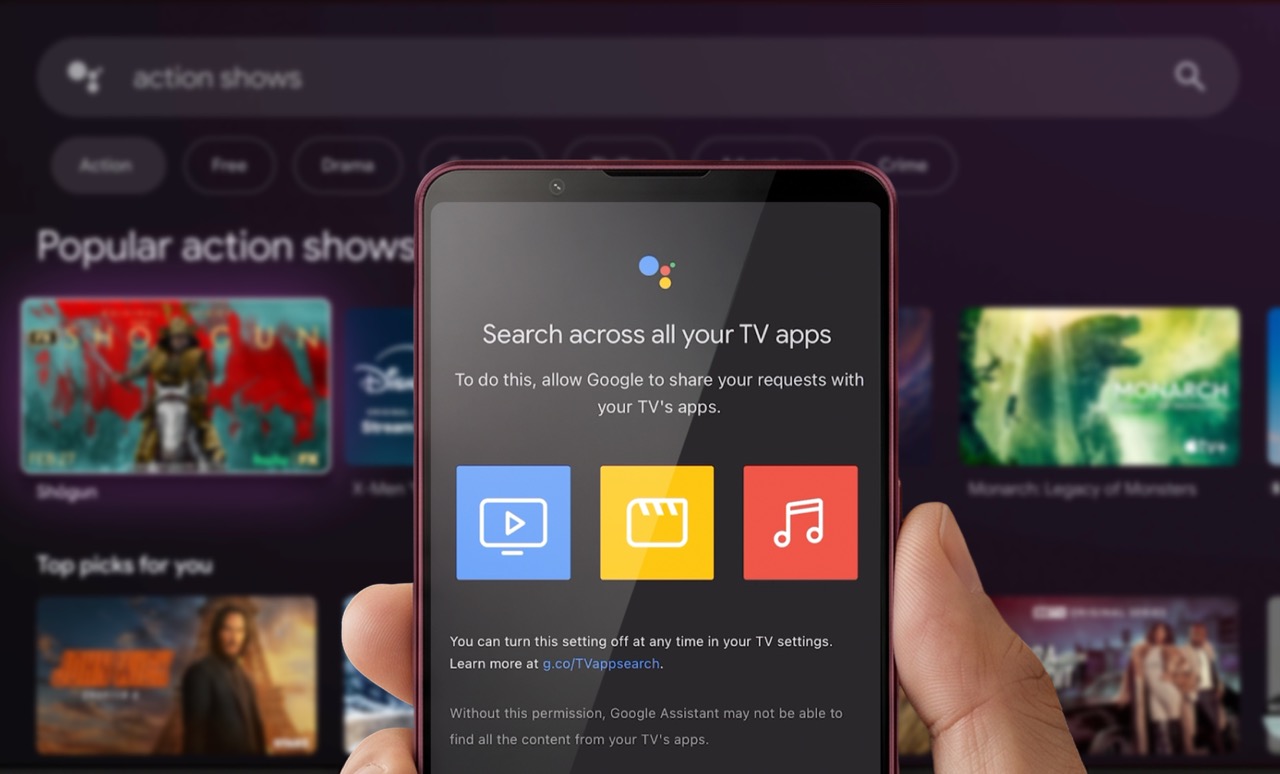
You can sign in directly using your remote or a mobile phone with the Google Home app to speed up the process. Once signed in, your Sony Smart TV will organise content from multiple apps into one personalized home screen.
Step 7: Set Up Google TV Preferences
Follow the on-screen prompts to:
- Select your favorite apps
- Choose content interests
- Enable voice assistant features
These selections personalize your home screen based on your apps, preferences, and viewing habits.
Step 8: Accept Terms and Enable Settings
Review and accept the required terms and conditions.
You can also:
- Enable location settings
- Allow app permissions
- Turn on automatic updates
These settings help your HDR TV deliver smoother performance and improved functionality.
Step 9: Set Up Inputs and External Devices
Connect external devices such as:
- Gaming consoles
- Streaming devices
- Blu-ray players
You can rename inputs for easier navigation, making it simple to switch between devices on your Sony BRAVIA TV.

Step 10: Optimize Picture Settings
To improve TV picture quality, adjust your display settings:
- Select a picture mode such as Standard or Cinema
- Enable HDR for supported content
- Fine-tune brightness and contrast based on your room lighting
For the best results, adjust settings according to your environment. Brighter rooms may require higher brightness, while darker rooms benefit from balanced contrast. A few simple adjustments ensure your 4K Smart TV delivers clearer details and more accurate colors, even when comparing different technologies such as a Mini LED TV or an OLED TV.
Step 11: Set Up Audio for Better Sound
You can enhance your viewing experience by connecting external audio devices or sound systems, such as a soundbar or home theater setup.
Many BRAVIA TVs also feature Acoustic Auto Calibration, which helps optimize audio performance based on your room environment. This built-in TV feature adjusts sound settings automatically, ensuring balanced audio without the need for manual adjustments.
Improving your audio setup helps create a more immersive environment, ensuring sound quality matches the picture performance of your TV.
Step 12: Update Your TV Software
Go to the settings menu and check for available system updates.
Keeping your Sony Smart TV updated ensures:
- Improved performance
- Access to the latest features
- Better compatibility with apps and connected devices
It is recommended to enable automatic updates, so your TV stays up to date without manual checks.

Step 13: Set Up the BRAVIA Connect App
Check out our guide here to set up the BRAVIA Connect App
Optional: Explore Additional Features
Once your initial setup is complete, you can also explore additional features to personalize your viewing experience. These steps are optional and can be set up anytime from your TV settings.
You may choose to:
- Enable Ambient Mode to display artwork or photos when your TV is idle
- Set up Apple AirPlay and HomeKit for easy content sharing from your Apple devices
- Turn on accessibility features such as screen reader or closed captions
- Access SONY PICTURES CORE to enjoy movies included with your BRAVIA TV
- Create user profiles or kids profiles for personalized recommendations and content control
These features allow you to customize your Sony BRAVIA TV based on your preferences and viewing habits.
Quick Tips for the Best Experience
- Use a stable internet connection for smooth streaming
- Keep your TV software updated regularly
- Adjust room lighting to enhance your HDR TV display
- Position your TV at a comfortable viewing angle
Start Enjoying Your Sony BRAVIA TV
Once setup is complete, your Sony BRAVIA TV is ready to deliver immersive visuals and smooth performance. From streaming to gaming and live content, your Sony Smart TV brings everything together in one seamless experience.
With these steps, you can enjoy your 4K Smart TV exactly as it was designed to be experienced.