
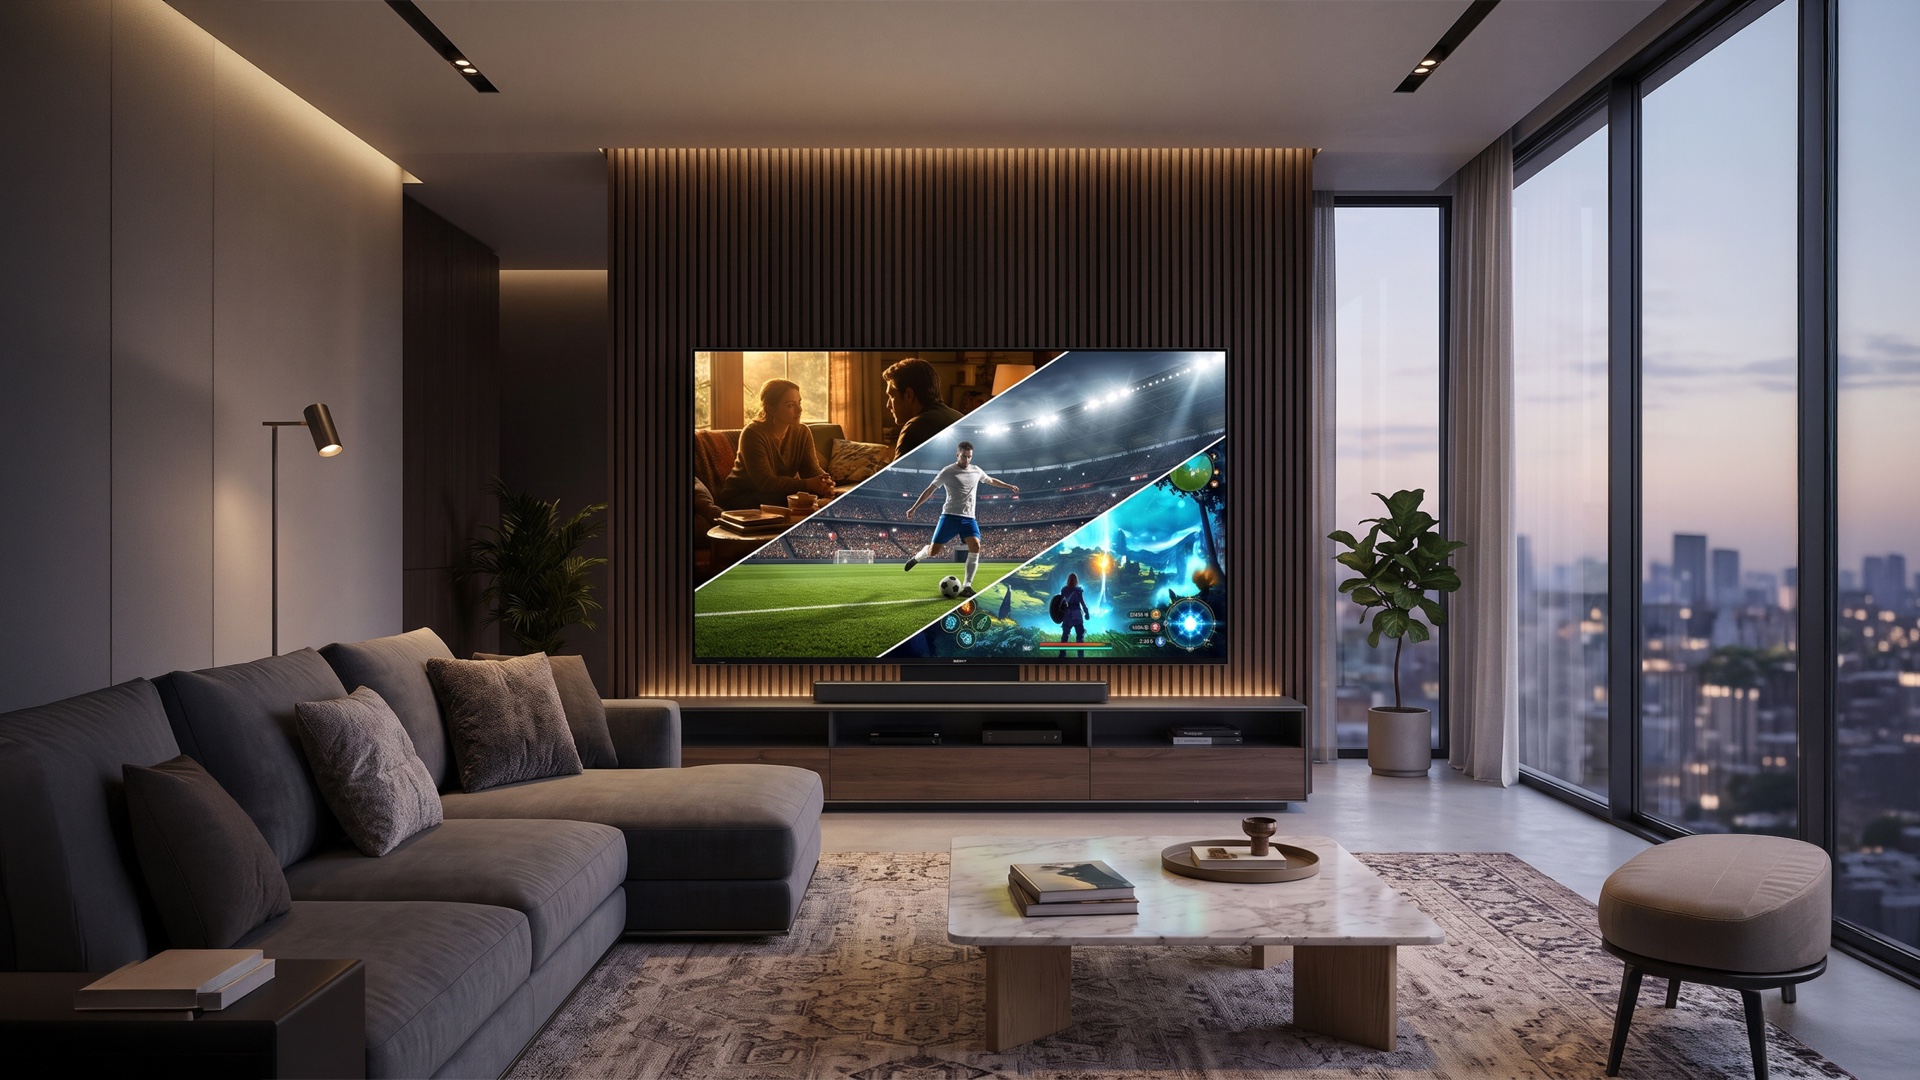



Article Summary
Get more from your Sony BRAVIA TV by adjusting its picture settings to suit what you are watching. Movies, live sports, and gaming each benefit from different configurations, helping you achieve more accurate colours, clearer motion, and smoother performance.
- For Movies: Use Cinema Mode for natural colours and accurate picture reproduction. Enable Studio Calibrated Mode on compatible models and reduce or disable Motionflow to preserve the cinematic look.
- For Sports: Adjust Motionflow settings to improve motion clarity during fast-paced action. Use Standard picture mode and increase brightness when watching in well-lit environments.
- For Gaming: Enable Game Mode and Auto Low Latency Mode (ALLM) to reduce input lag. Activate 4K at 120fps and Variable Refresh Rate (VRR) on compatible models for smoother gameplay.
- Optimise HDR: Use Auto HDR Tone Mapping on compatible PlayStation 5 and PlayStation 5 Pro consoles to balance bright highlights and dark details.
- Manage Motionflow: Reduce or disable Motionflow for movies and gaming, while adjusting it appropriately for sports to suit your viewing preferences.
In short: Choose the right picture settings for every activity. Cinema Mode enhances movie viewing, motion adjustments improve sports clarity, and gaming features such as ALLM, VRR, and 4K at 120fps help deliver a more responsive experience. A few simple adjustments can make your BRAVIA TV perform at its best.
Your Sony BRAVIA TV is capable of a lot more than its out-of-the-box settings suggest. What looks great for a Sunday film is not necessarily what you want during a live football match or a late-night gaming session. Each type of content places its own demands on your display, and a few targeted adjustments can completely change the experience. Here is where to start.
Picture Settings for Movies
The difference between a good movie night and a great one often comes down to picture settings. These are the ones that matter most for film.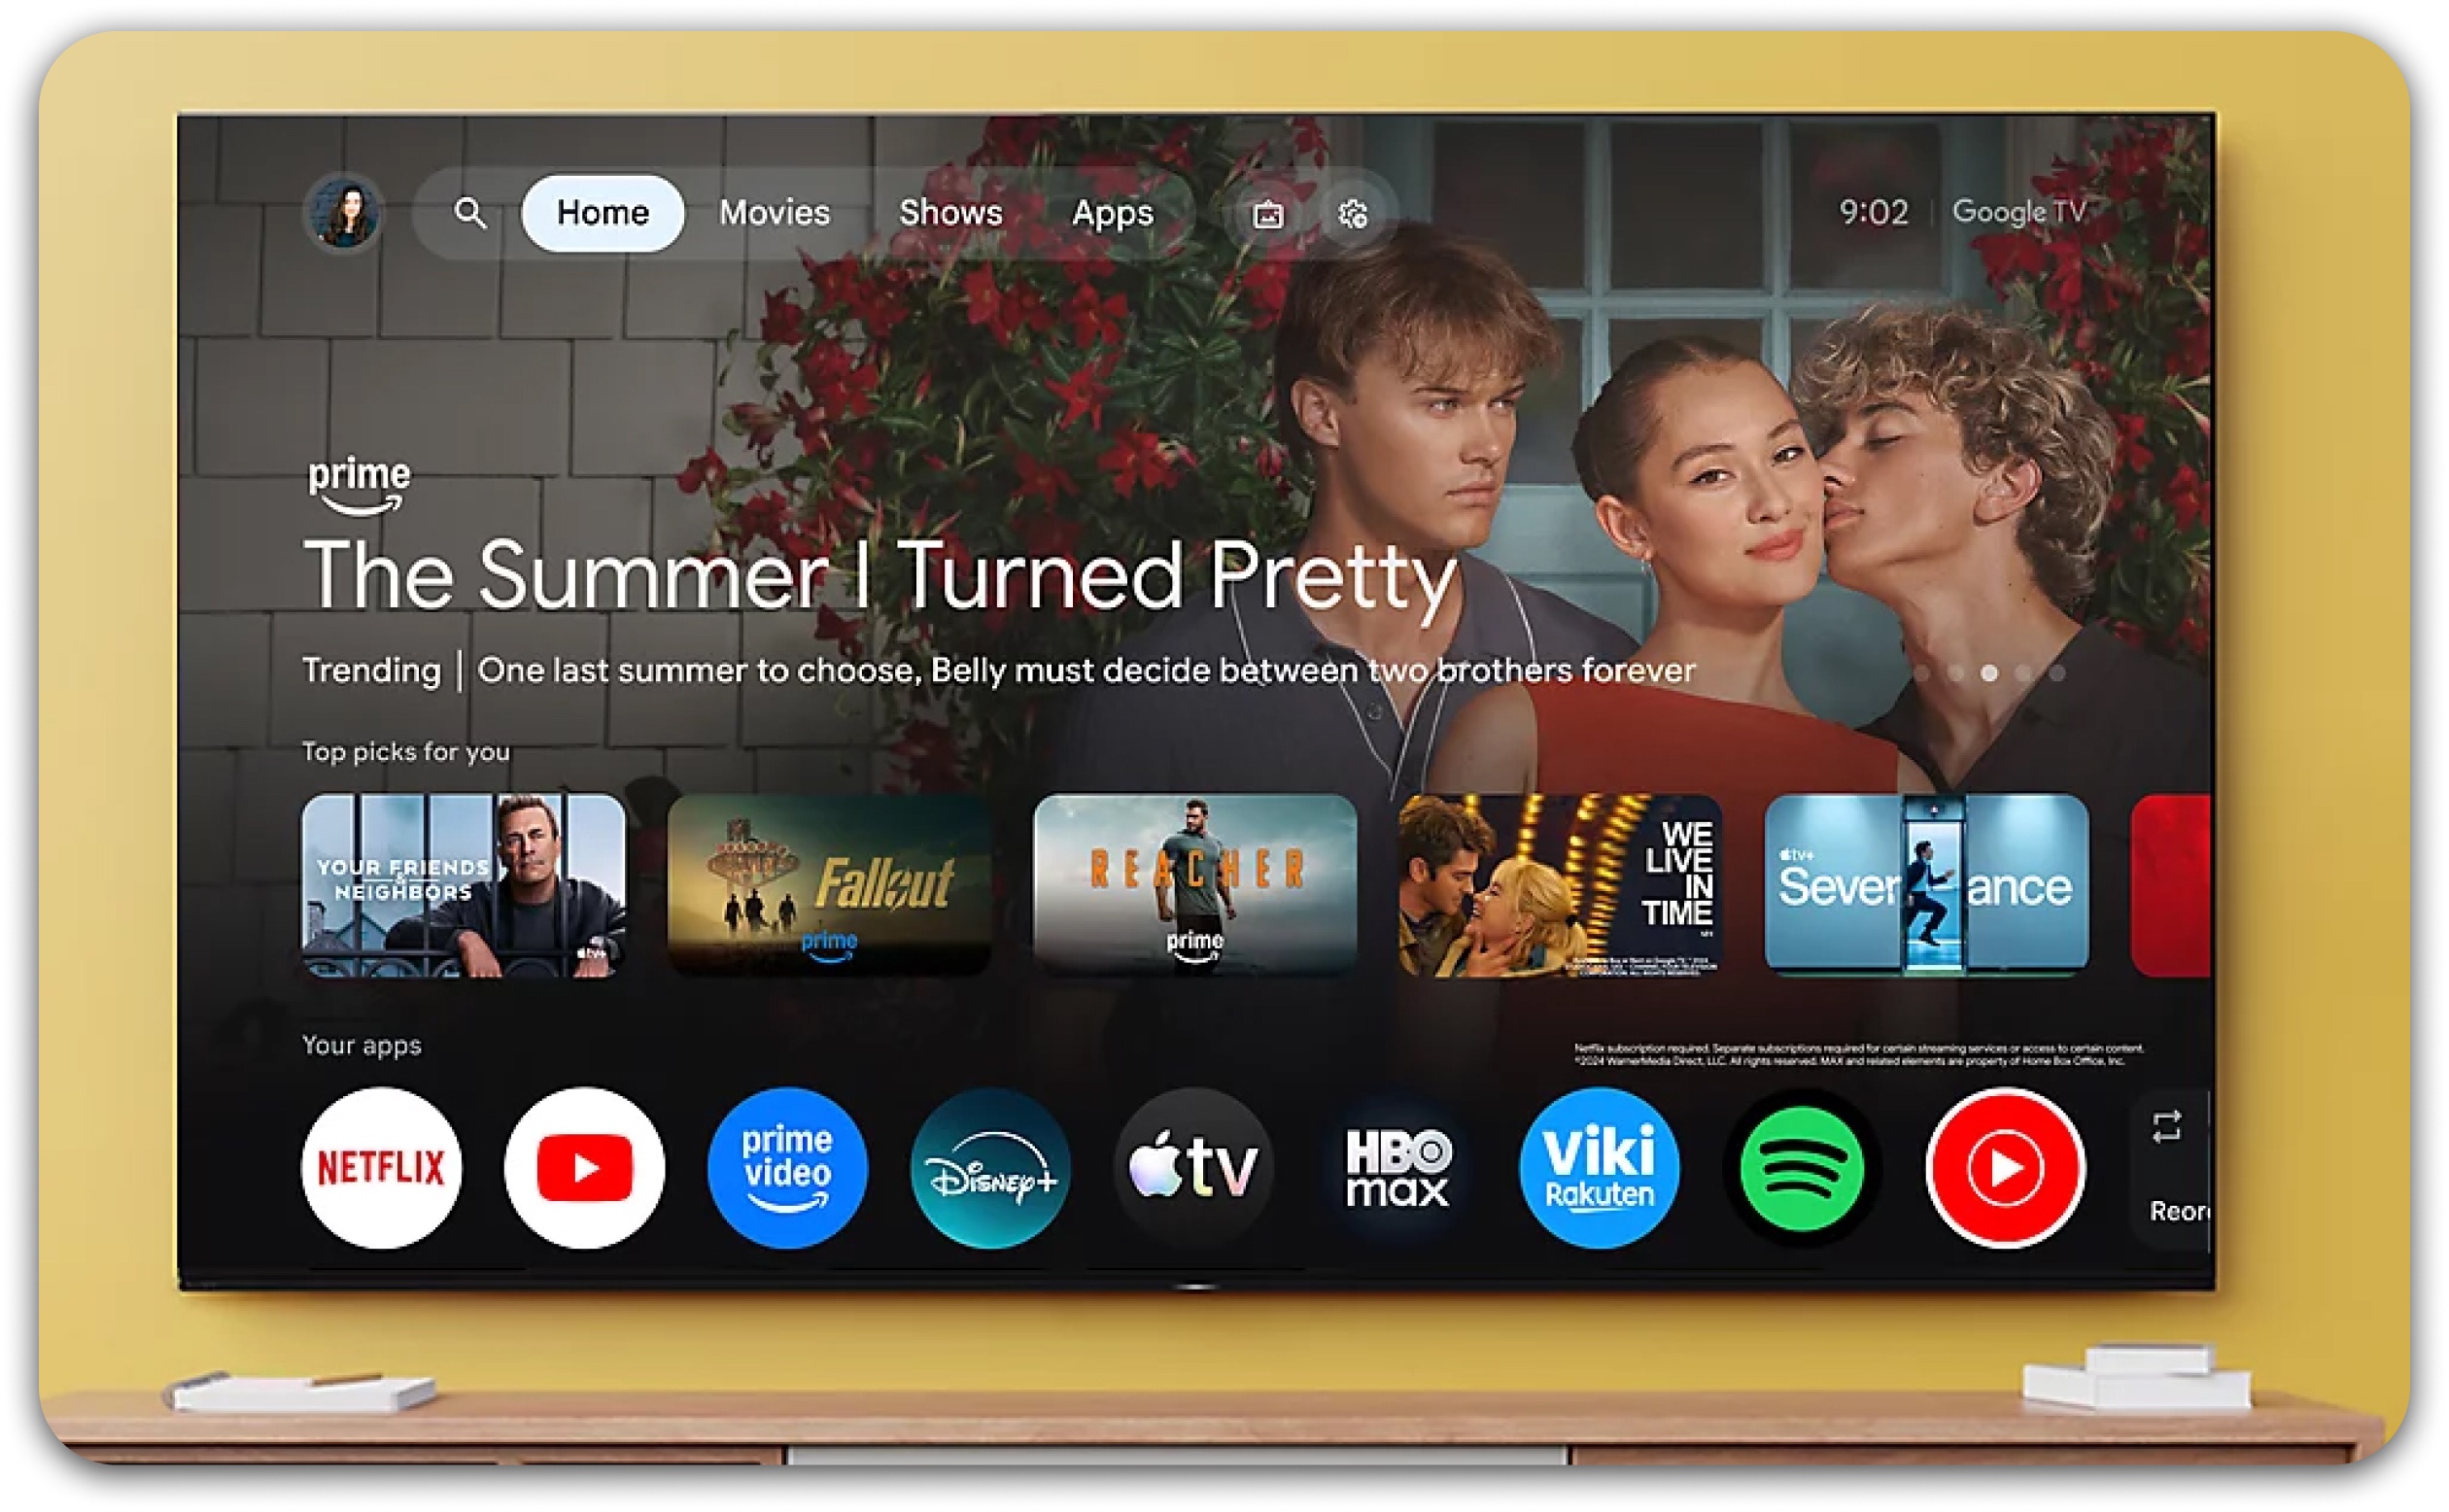
1. Switch to Cinema Mode
Cinema mode is your best friend for film viewing. It is built around accuracy, with calibrated contrast, natural gamma, and colour reproduction that reflects how the content was graded in the studio. This holds true whether you are watching on a Mini LED TV, an OLED TV or an HDR TV.
On Google TV models, select Cinema from your picture mode menu. It is designed to balance brightness, colour depth, and detail for home movie viewing, bringing you closer to what the film was meant to look like.
Android TV models offer two options:
- Use Cinema Pro for darker rooms
- Use Cinema Home for environments with more ambient light
If you own a BRAVIA 9 II or BRAVIA 7 II, Cinema Mode is further enhanced by True RGB technology. Rather than converting blue LED light through filters, it uses independent red, green and blue LEDs to generate colour directly at the source.
What you get is colour that feels genuinely true to life. Skin tones look natural, shades blend seamlessly, and the picture simply feels richer from the moment you sit down.
2. Use Studio Calibrated Mode
Studio Calibrated Mode does the heavy lifting so you do not have to. It is available on BRAVIA 9 II, BRAVIA 8 II, BRAVIA 7 II and BRAVIA 5.
Open Quick Settings while streaming on Netflix, Prime Video or Sony Pictures Core to switch it on. Now, your picture settings are automatically aligned to professional standards, bringing you closer to what the creators actually intended.
3. Turn Off or Reduce Motionflow
Motionflow is a powerful feature, but it can work against you when watching films. Left on its default setting, it adds artificial smoothness to cinematic content, an effect that many viewers find distracting. For movies, these adjustments work best:
- Disable Motionflow entirely, or set it to Custom
- Set Smoothness and Clearness both to the minimum (0)
- Set Film Mode to Auto or High for select models
It is a small change that makes the whole experience feel a lot more cinematic.
Picture Settings for Sports
Cinema Mode does a lot of things right, but sports is a different experience altogether and deserves its own setup. Here is how to get it right for live viewing.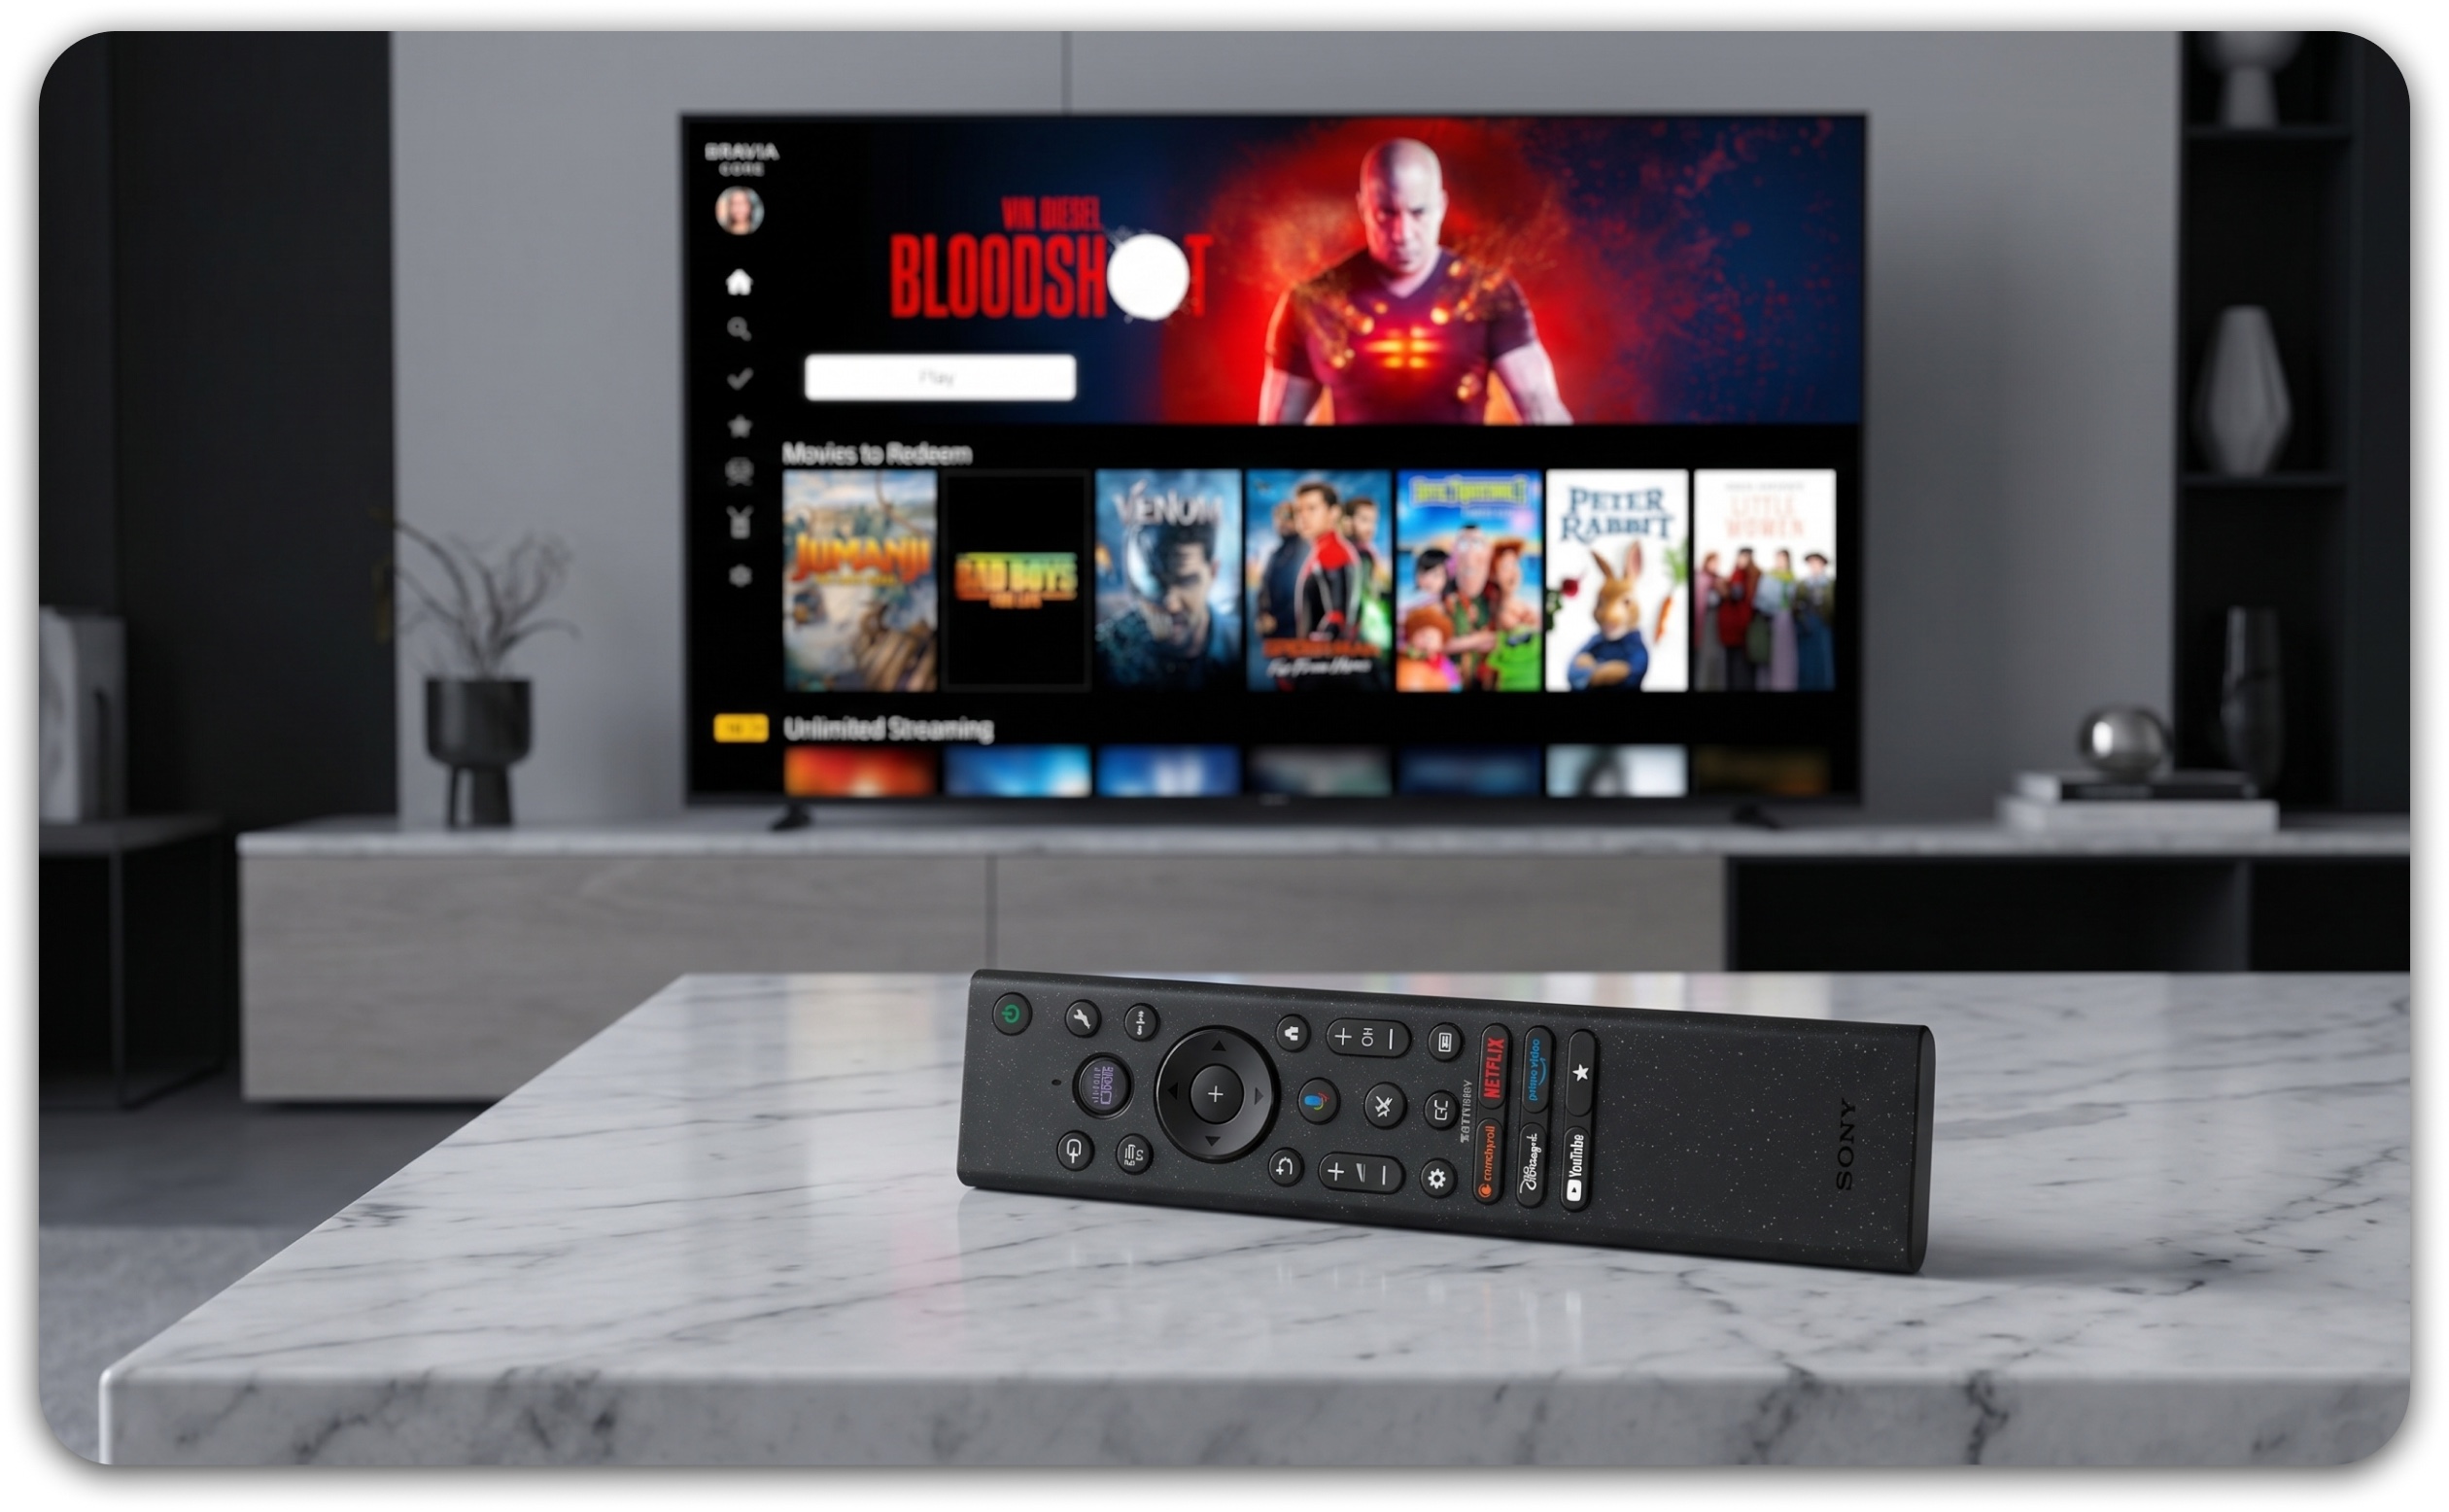
1. Adjust Motionflow for Motion Clarity
Sports demand the opposite approach to films. Fast movement needs motion processing to stay sharp. Without it, a ball mid-flight or a tackle in real time can appear blurry. These settings strike the right balance:
- Set Motionflow to Custom
- Set Smoothness to 0
- Set Clearness to 0
- Set Film Mode to Auto or High on select models
2. Optimise Brightness for Your Environment
Most people watch sports in brighter rooms than they realise. Switching to Standard mode and raising your brightness keeps the picture punchy and readable even against natural light. On a 4K Smart TV with strong peak brightness, it also draws out the intensity of colours, pitch greens and stadium lighting.
Picture Settings for Gaming
Picture quality still matters in gaming, but so does performance. These settings make sure your BRAVIA TV delivers on both.
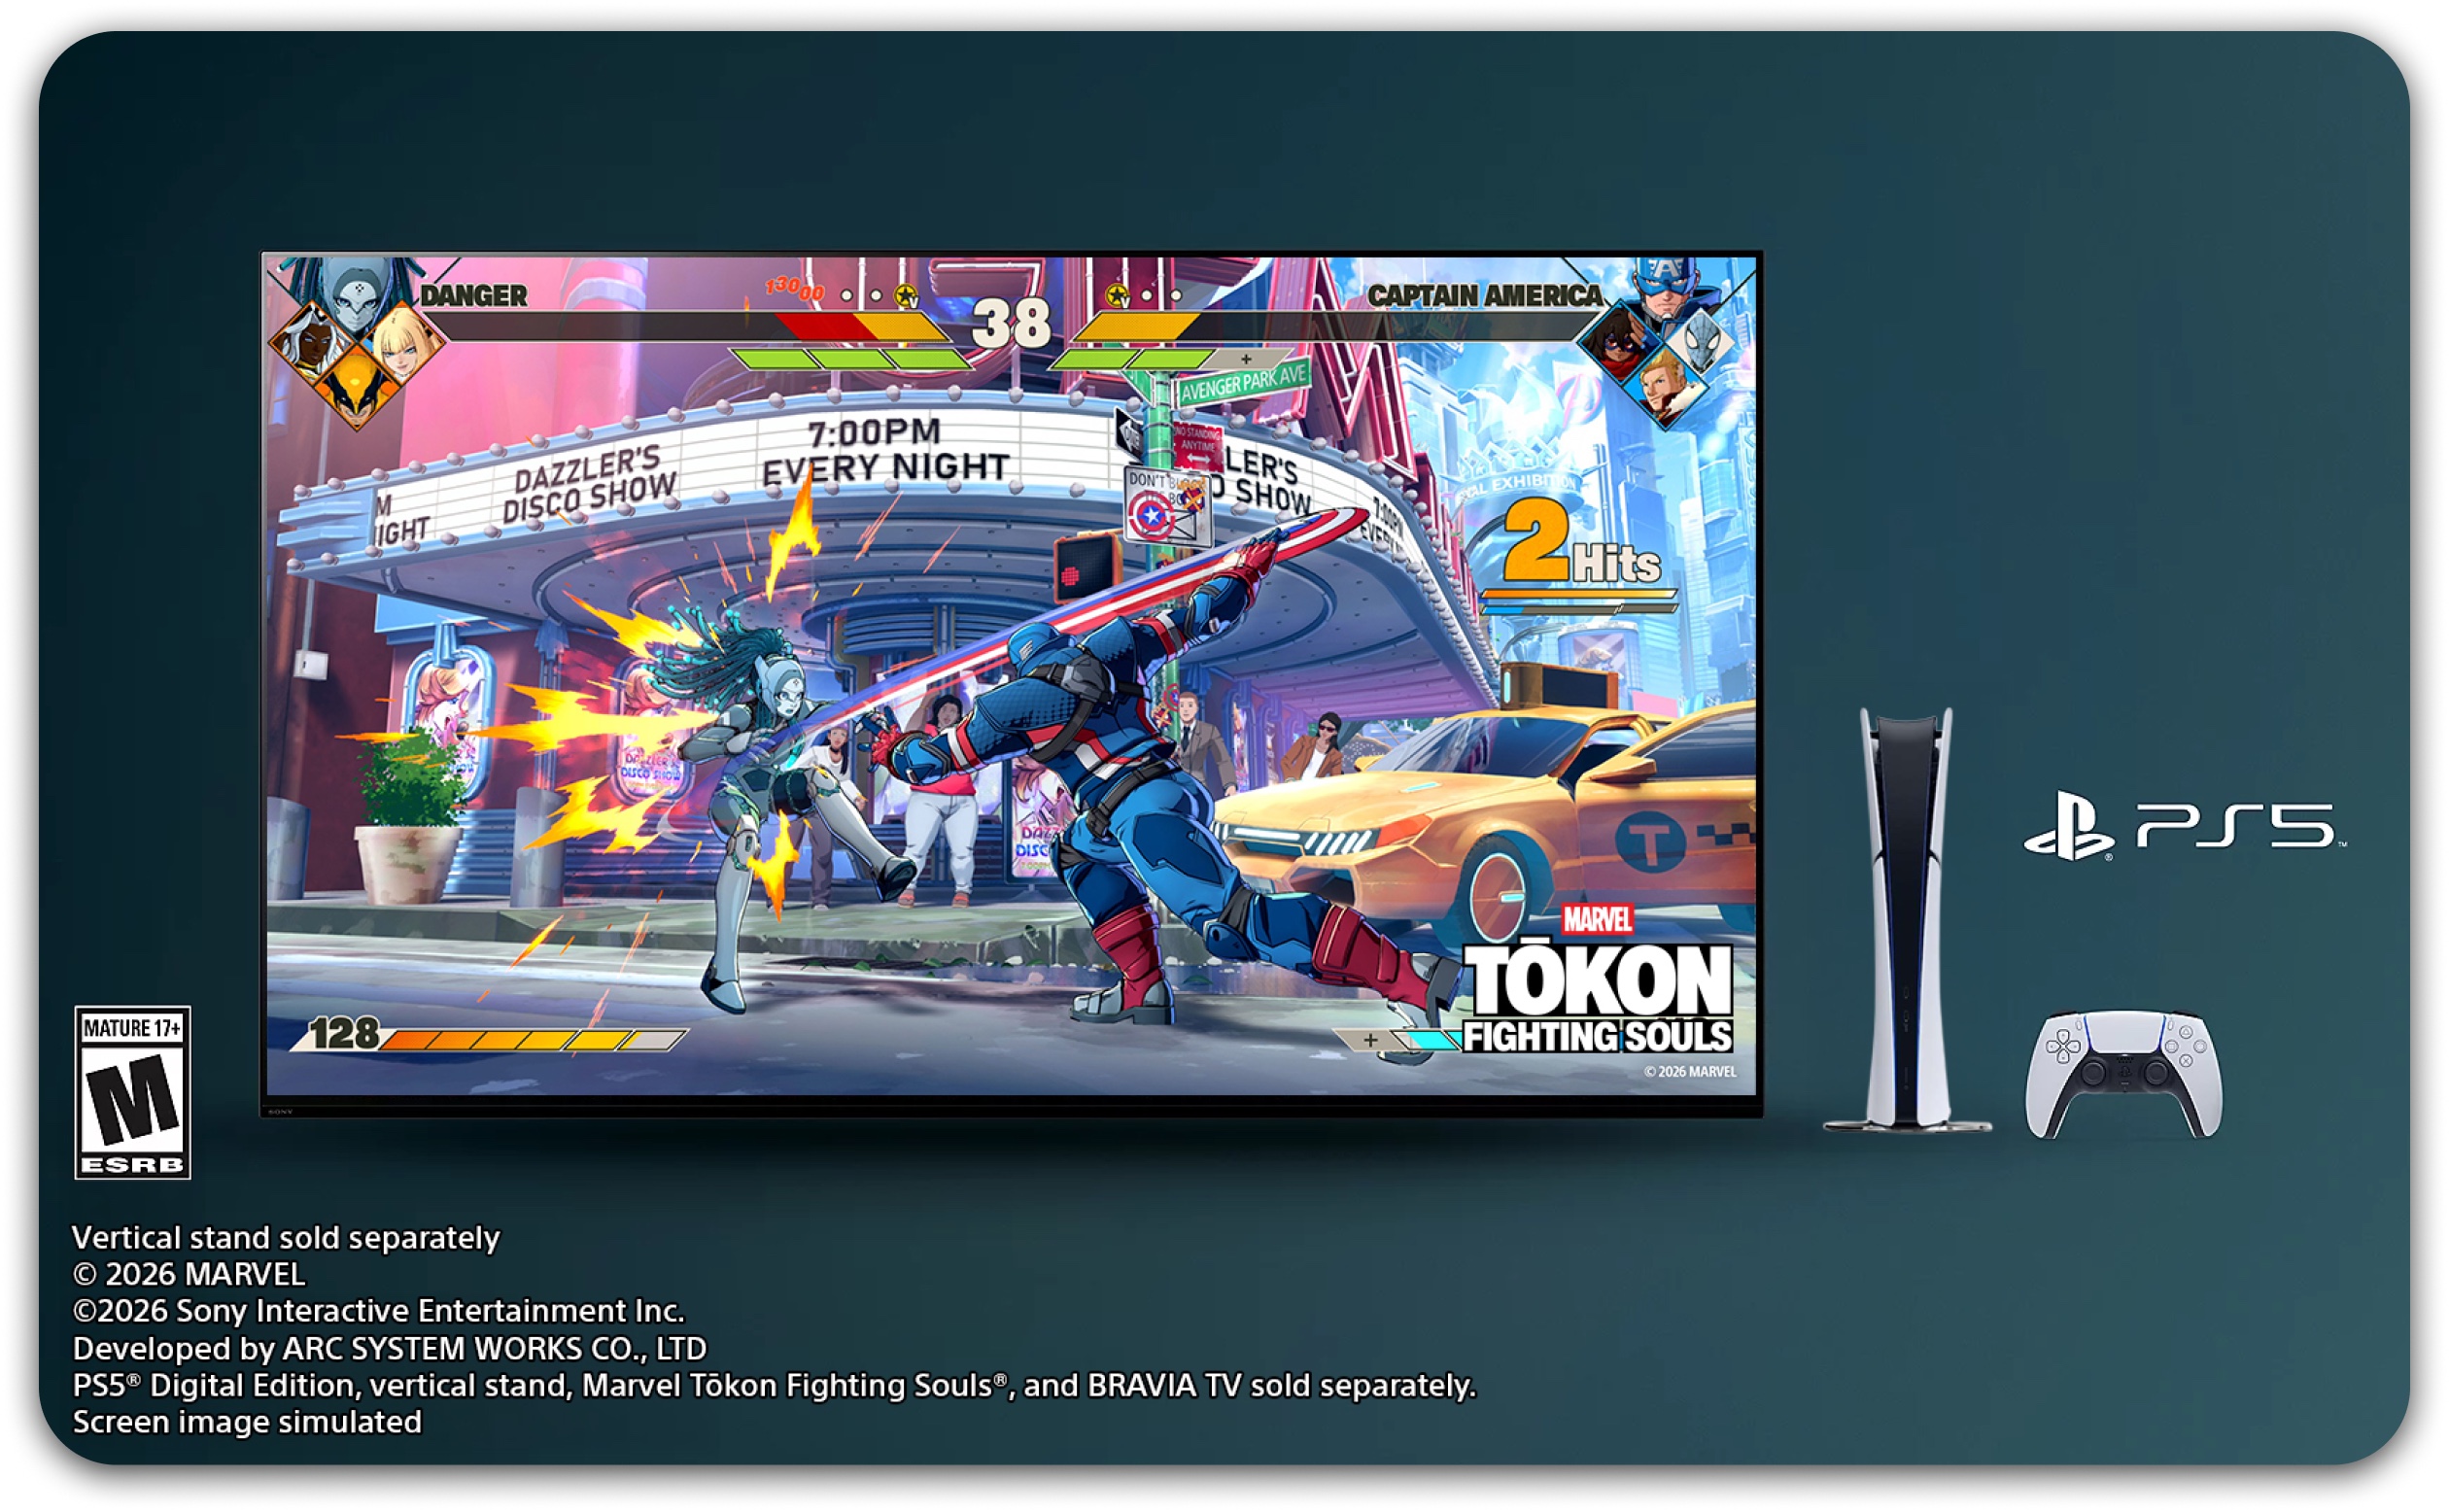
1. Enable Game Mode for Lower Input Lag
Every millisecond counts in gaming, and Game Mode is what closes the gap between input and on-screen response. On compatible models, Auto Low Latency Mode (ALLM) detects a connected PlayStation 5® and switches automatically. Your TV is ready before you even load into a game.
2. Unlock 4K at 120fps and Variable Refresh Rate
Two settings, significant impact:
- Head to Settings → HDMI Signal Format and select Enhanced Format on the port your console is plugged into.
This opens up 4K at 120fps for titles that support it.
Turn on Variable Refresh Rate (VRR) via Settings → Display & Sound → Video Output.
This syncs your TV’s refresh rate to your console’s output, eliminating screen tearing in fast-paced gameplay.
- On the BRAVIA 9 II and BRAVIA 7 II, these features are backed by True RGB technology.
It keeps colour and contrast consistent even at higher brightness levels, so details hold up wherever the action takes you.
3. Use Auto HDR Tone Mapping
HDR done properly means holding detail at both ends of the spectrum. Bright scenes stay vivid, and dark areas retain depth without going flat.
Auto HDR Tone Mapping handles this automatically for your specific display.
PlayStation 5® and PlayStation 5 Pro® users get this during initial setup or find it manually via Settings → Picture Settings → HDR Tone Mapping.
4. Switch Off Motionflow for Gaming
Motionflow may seem harmless, but even a small amount of added processing introduces latency that disrupts gameplay.
On BRAVIA models from 2023 onwards, Motionflow is automatically disabled the moment Game Mode is active, so nothing extra is needed on your end. On earlier models, switch it off manually to make sure it is not interfering with your gameplay.
Get More from Every Viewing Experience
Films, sport, and gaming each ask different things of your display, and small adjustments make a real difference. Spend a few minutes dialling in each mode, and your Sony Smart TV will deliver TV picture quality that feels purpose-built for whatever is on screen.


